
How to Set Up a Home Network Router
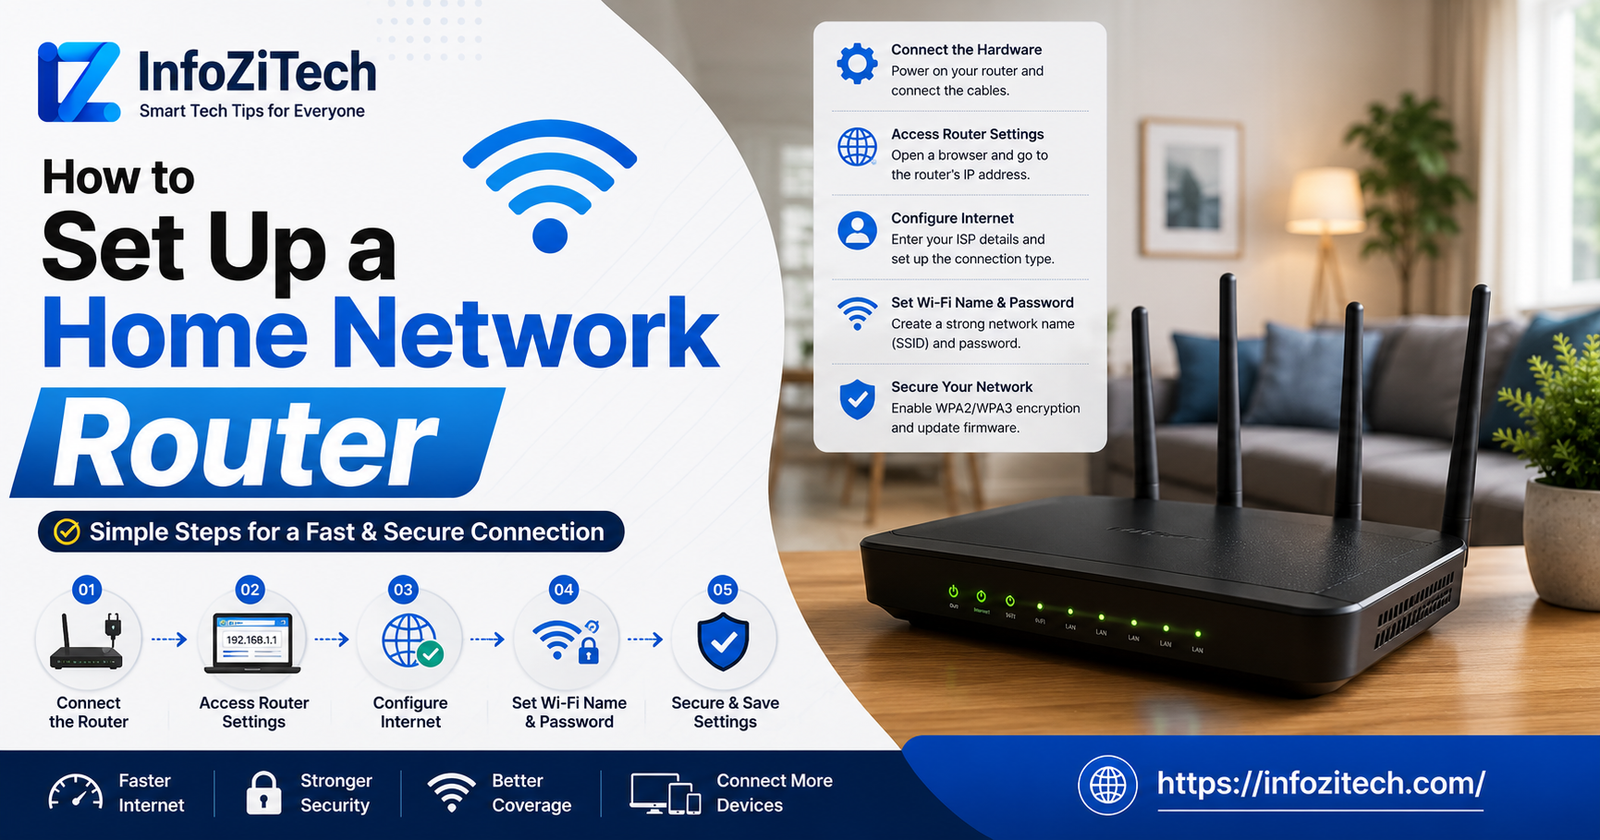
New router. Still in the box. Sitting on the kitchen table while everyone in the house keeps asking why the Wi-Fi’s down, again, like you personally control the internet. Sound familiar? Most people, when they finally crack the box open, just plug it in, connect to whatever default network name pops up, and never touch another setting for the rest of that router’s life. Works fine, mostly, until it doesn’t — until the password’s basically public knowledge because it’s printed on a sticker anyone standing in your living room can read, or the signal in the back bedroom is so weak it might as well be a different postal code.
I’ve set up more of these than I can honestly count at this point. Family members calling in a mild panic. My own place, three separate times after moving. One friend who had, I kid you not, four different routers stacked in a closet because none of them ever actually got configured. This is the real process. Not the twelve-page manual nobody in the history of the world has read cover to cover. Just what actually matters.
Before You Touch Anything
A few minutes here save a genuinely annoying amount of frustration down the line.
Know What You’re Actually Working With
Replacing an all-in-one modem-router combo from your provider, or adding your own router behind that box? Matters a lot for how the cables end up connecting, and skipping this step is probably the number one reason people get stuck fifteen minutes in, staring at a blinking light wondering what went wrong.
Pick a Half-Decent Spot
Center of the house if you can manage it, up off the floor a bit, away from thick walls and big metal appliances. Not crammed in a closet. Not shoved behind the TV stand against a wall like it’s something to hide. Placement matters way more than people expect walking into this.
Get Your Stuff Together First
The router. An ethernet cable, usually already in the box. Something to configure it from. And your login details from the internet provider, if the modem itself needs setting up too.
Step One: Actually Connecting the Physical Stuff
Modem to Router
Separate modem? Run an Ethernet cable from its output port into the router’s WAN port, usually a different color or clearly labeled so you’re not guessing.
Power On in the Right Order, This Matters
Modem first. Let its lights settle- thirty seconds, maybe two minutes depending on the device; don’t rush it. Then the router. Skip this order, and you’ll get connection issues that look way more serious than they actually are; trust me, I’ve chased ghosts because of this exact mistake before.
Connect Something to Set It Up
Ethernet directly is more reliable for this first part. Or just connect wirelessly using the default network name printed right on the router.
Step Two: Getting Into the Settings
The Router’s IP Address
Almost always on a sticker somewhere on the device. Something like 192.168.1.1, or 192.168.0.1, varies a bit by brand.
Logging In
Type that into a browser, hit the login screen; the default username and password are usually right there on the same sticker. Change both. Immediately. Reasons coming up in a second.
Just Look Around First
Most admin panels split into wireless, security, advanced, sometimes a guest network or parental controls section too. Click around before changing anything, just to see the layout.
Step Three: The Settings That Actually Matter
Rename the Network
Default names broadcast the brand and sometimes even the model to anyone nearby, which is basically a free head start for anyone trying to break in. Pick something that doesn’t include your address or your last name. Something neutral works fine.
A Real Password, Not the Sticker One
Skip whatever came printed on the router. Go long rather than complicated for the sake of complicated — a phrase with a number and symbol thrown in beats some short jumble of characters that not even you will remember two weeks from now.
Change the Admin Login Too
People skip this constantly, and honestly it’s the most important one on the whole list. Default admin credentials for most router models are searchable online in maybe ten seconds. Anyone who finds that can get into your entire network’s settings if you never bother changing it.
The Right Security Protocol
WPA3 if it’s supported. WPA2 if not. Avoid WEP completely; it’s outdated and not actually secure anymore even though a few ancient devices still default to it out of habit.
Step Four: Making It Actually Perform Well
Pick the Right Band
Most routers today broadcast both 2.4GHz and 5GHz. 2.4 travels further through walls but is slower. 5GHz is faster but doesn’t travel as well. Some routers let you name these separately so you pick manually; others just merge them into one smart network that switches on its own.
Check the Channel
In crowded apartment buildings especially, neighboring routers pile onto the same channel, and everything slows down. Most modern routers auto-pick the least congested one, but worth a manual check if speed feels off and everything else looks fine.
Actually Update the Firmware
Manufacturers push updates fixing bugs and patching security holes constantly. Check under administration or firmware in the admin panel, set it to auto-update if that’s an option, save yourself from remembering to check later.
Step Five: A Guest Network, Because You Should
Why This Matters
Keeps guests, smart home gadgets, random visitors off your actual main network. If someone’s phone has something weird going on with it, a guest network keeps that away from your laptop and personal files entirely.
Setting It Up
Most panels have a dedicated toggle for this. Give it its own name and password, separate from the main one, and turn off access to local network resources if that option shows up.
Step Six: A Few More Security Things Worth Doing
Turn Off Remote Management
Unless you specifically need to reach your router from outside your home network, which almost nobody actually does, just turn this off. It’s a door left open for no reason otherwise.
Kill WPS If You Don’t Use It
Makes connecting devices easier through a button press, sure, but it’s also got known weaknesses security-wise. Not using it? Turn it off, one less way in for anyone trying.
Confirm the Firewall’s On
Most routers have a basic one built in, on by default usually, but worth actually checking rather than just assuming it’s there doing its job.
Stuff That Goes Wrong Constantly
Weak Signal in One Room
Usually placement, not a bad router. Moving it even a few feet, or adding a mesh extender for bigger homes, fixes this way more often than buying an entirely new router would.
Devices Dropping Connection Randomly
Channel congestion, or outdated firmware, most of the time. Check both before deciding the router’s broken.
Forgetting the Admin Password You Just Changed
Happens all the time, more than you’d think. Write it down somewhere real, a password manager, a physical note tucked somewhere safe, whatever works. Factory resetting the whole router because you forgot one login is a completely avoidable headache.
Final Thoughts
Setting this up properly costs maybe twenty extra minutes over just plugging it in and forgetting about it, and those twenty minutes are the entire difference between a secure network with decent coverage everywhere and one that’s wide open with dead zones in half the house. Rename it. Real password. Change the admin login. Update the firmware. Put it somewhere sensible instead of a closet. That’s genuinely most of it. Everything past that point is fine-tuning for people chasing a bit more speed, but the basics above are what actually protect you and keep things running without drama day to day.
./6_files/saved_resource.html






3 thoughts on “How to Set Up a Home Network Router”