
Budget Nature Escape Planning Guide: How to Get Away Without Overspending
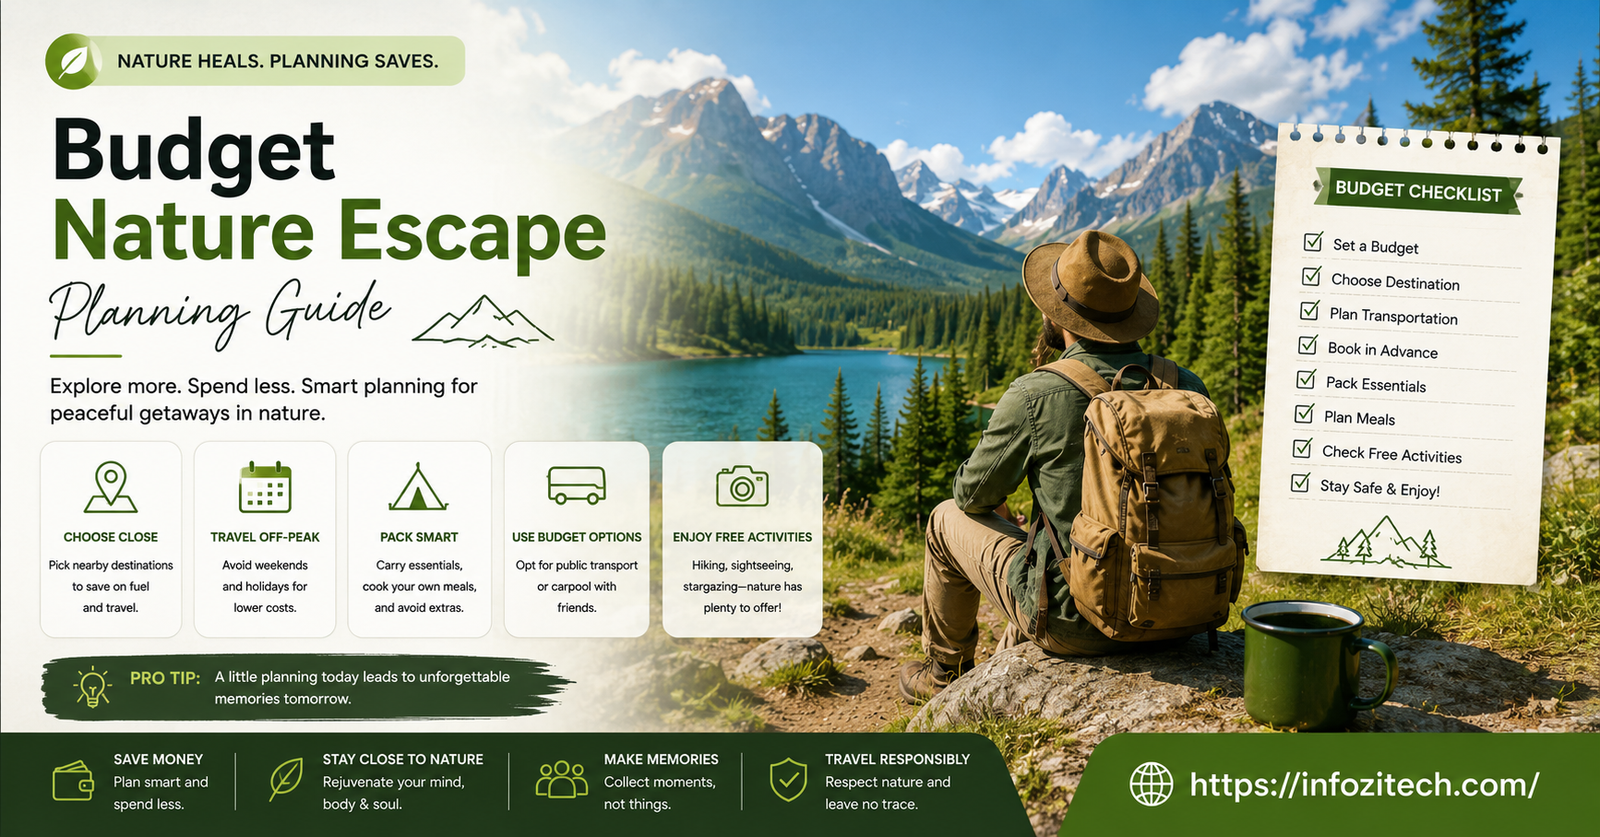
I used to think you needed real money to get that “I just came back from vacation” feeling. Turns out no. Turns out a fifteen-dollar campsite and a decent trail can do more for your head than a resort ever did, at least for me, and I say that having tried both. There’s a specific kind of tired — the fluorescent-light, too-many-notifications, pavement kind — that Netflix doesn’t fix. Trees fix it. Open sky fixes it. And none of that costs what people assume it costs.
So this is the actual guide. Not the version where “budget” secretly means two hundred dollars a night at some place with a fire pit and a hashtag. Cheap. Really cheap. Without the trip feeling like you settled.
Why a Nature Escape Doesn’t Need a Big Budget
Nature is free, mostly. That’s just true. Trails don’t have a door fee. Lakes don’t card you. What costs money is everything people pile on top — the flight, the resort fee nobody reads the fine print on, the gift shop, eating out three times a day because cooking felt like a hassle. Cut that stuff, and you’re left with the actual point: being outside, away from your desk, breathing air that doesn’t smell like carpet.
It’s not about finding some secret discount code. It’s picking a trip where the expensive parts were never required in the first place.
Step 1: Figure Out What Kind of Nature Escape You Actually Want
Don’t open a map yet. Actually — do whatever, but first be honest about what you want. A weekend where nobody talks to you is a completely different trip than sixteen miles of hiking a day, and I’ve made the mistake of confusing the two. Ended up exhausted instead of rested, which kind of defeats the point.
Day Trip vs Overnight vs Multi-Day
Day trips: cheapest, easiest, basically just gas money and maybe a park fee. Good starting point if this is new to you. Overnight adds a campsite or a cheap cabin into the mix, but you get sunrise and sunset out of the deal, and that’s honestly where most of the good stuff happens, in my experience anyway. Multi-day costs more — food, fuel, all of it adds up — but something about day two is when your brain actually stops buzzing. Day one doesn’t do it. Ask me how I know.
Matching the Trip to Your Energy Level
Be real about how tired you already are. A brutal hike looks great from your desk chair on a Tuesday. Feels a lot different at 6 a.m. at the trailhead when you slept four hours. Pick something easier than you think you want. You can always push harder once you’re out there — much easier than the other direction.
Step 2: Choosing an Affordable Destination
State and National Parks Are Still the Best Deal
Nobody talks about state parks enough. Entry’s usually somewhere between free and fifteen bucks a car, and a lot of states sell annual passes that pay for themselves after like four visits, sometimes fewer. National parks cost more to get into, but the annual pass covers every federal park for a year — again, pays for itself fast if you’re actually going to use it.
Look Within a Two-Hour Radius First
Here’s the thing almost nobody does: check what’s close before looking anywhere else. Every extra hour of driving is gas, it’s wear on your car, it’s a longer trip that somehow needs to “earn” the drive to feel worth it. Two hours or less. Most areas have way more options tucked away than people realize — they just keep going to the same two famous spots because that’s what shows up first on a search.
Off-Season and Weekday Travel
Campsites and cabins run 30 to 50 percent cheaper midweek and off-season, sometimes more. Also quieter. Also easier parking. Also, you’re not sharing the one good lookout spot with fifty people trying to get the same photo.
Step 3: Budgeting for the Trip
Free and Low-Cost Entry Options
A lot of parks waive entry fees on certain days — worth a quick search before you go, takes two minutes. City and county parks are frequently just… free, no catch. National forests (different from national parks, easy to mix up) are almost always free to enter, and dispersed camping there usually costs nothing at all.
Where People Overspend Without Realizing It
Three places, basically every time: restaurants, gear bought “just in case” that never gets used again, and gas from driving farther than necessary or backtracking because the plan wasn’t tight. None of it’s required. Handle food before you leave, borrow gear instead of buying, keep the destination close enough that driving doesn’t eat half the budget.
Step 4: Packing Smart Instead of Buying New Gear
Borrow, Rent, or Improvise
You almost certainly don’t need to buy anything to try this. Ask around first — somebody you know has a tent sitting in a garage doing nothing. A lot of cities have gear libraries now too, run through outdoor clubs or universities, and they rent tents and stoves and sleeping bags for next to nothing. And honestly, improvising works fine — old blankets and a tarp can stand in for a sleeping pad and rain cover in a pinch. Not glamorous. Works.
The Only Things Worth Buying
If you’re spending money anywhere, spend it here: shoes that are already broken in, a headlamp, something to purify water if you’ll be near a stream or lake. That’s it, really. Those three solve real problems — blisters, tripping in the dark, getting sick — that no amount of creative substitution fixes.
Step 5: Food and Cooking on the Cheap
Meal Prep Before You Leave
This is where trips quietly turn expensive. Restaurants near parks know you’re stuck, and they price accordingly. Cook before you go instead. Sandwiches, pasta salad, pre-chopped veggies — all of it holds fine in a cooler for a day or two, costs a fraction of eating out, and takes maybe an hour of prep the night before.
Campfire and No-Cook Meals
Foil packets — veggies, some protein, seasoning, wrapped up, tossed on the coals — cheap and basically foolproof. Oatmeal and instant coffee for breakfast cost pennies next to a coffee shop stop. And if cooking sounds like too much effort even with foil packets, bread, peanut butter, trail mix, and fruit gets the job done for a short trip. Not exciting. Works fine.
Step 6: Where to Sleep Without Draining Your Wallet
Camping
Cheapest option, obviously. Developed sites with a fire pit and bathroom access usually run from free to thirty dollars a night, depending on where and when. Dispersed camping on national forest land is often completely free — no bathroom, no water hookup, sometimes no signal at all, which some people (me included, most of the time) actually count as a plus rather than a downside.
Budget Cabins and Off-Peak Rentals
Not a camping person? Fine. Look at rustic state park cabins — they’re often shockingly cheap next to anything labeled a “cabin rental” on a vacation site. Book midweek, stay just outside the busy parks instead of right at the entrance, and skip anything with “lodge” or “resort” in the name. Those words are basically a price tag warning.
Step 7: Free Activities Once You’re There
Easiest part of the whole thing. Most of what actually makes a trip like this good was never going to cost money anyway — hiking, swimming in a lake, birdwatching, stargazing, reading in a hammock, skipping stones, watching the sun go down from a ridge somewhere. Bring cards for the evenings. Bring binoculars if you’ve got a pair lying around. Honestly, the moments people remember from these trips are almost never the ones they paid for.
Common Mistakes That Blow the Budget
Same mistakes, over and over; I’ve seen it and done it myself. Buying a full gear setup for a trip you’re not even sure you’ll repeat. Driving four hours to some “famous” spot when something almost as good was ninety minutes away the whole time. Eating out every meal because planning felt like effort. Booking the very first campsite that popped up instead of checking two or three nearby options — prices vary more than people expect, sometimes by a lot. None of these ruin the trip. But they’re the difference between forty dollars and four hundred.
A Sample 2-Day Budget Nature Escape
Quick example, to make this less abstract: ninety-minute drive each way, fifteen-dollar campsite, food from home for every meal but one, zero gear bought because it was all borrowed. Total, usually under seventy-five dollars for one person. Split a site and gas with someone else, and it barely moves per person.
Final Thoughts
It doesn’t need to look like the photos on some glossy travel site. It needs trees, or water, or sky, and enough distance from your normal week to let your head go quiet for a bit. Everything else — the gear, the resort, eating out — is optional, and it’s rarely what sticks with you afterward anyway. Plan around what’s close. Cook what you’ve already got. Borrow what you don’t own. Let the outside part do the actual work.









2 thoughts on “Budget Nature Escape Planning Guide: How to Get Away Without Overspending”